Acoustic Treatment - From bath towels to glass wool

Carl Lukings • April 29, 2020

As a kid we moved around a lot.


My parents liked the change and my father was often  looking for a new challenge with his work in IT.   One of the things I have always remembered  whenever we moved into a new home was how  the house felt so hollow with no furniture, justblank walls and floors. It was even more  noticeable in an empty bathroom. I remember  my brothers and I standing in an empty  bathroom hollering at the top of our lungs,  listening to the echo. Although I had very little  interest in sound or audio at 12 years old, I  understood something about acoustics. When  the shower curtain and bath towels were hung,  the bathroom quickly went from being a cavern  to a small room.


The principals haven't really changed much over  the years. The fact is, some rooms, for  numerous reasons, have acoustic characteristics  that make them much more reverberant than  others. Sometimes it's the hard uncovered  surfaces. Or it could be a tin-pan ceiling. More  often than not it's the physical dimensions of the  room, allowing for some frequencies to reflect for  a long period of time before diminishing. 


One way to determine and quantify the "issue  frequencies" is to play a frequency sweep within  the space and then record the playback with a  microphone in the room. What this does is  provide us the ability to "hear" and analyse how  the different frequencies are responding in the  space. Using a measurement referred to as the

RT60 we are able to determine which frequencies  and to what extent each frequency is a problem. 


From there, we're able to take that information  and determine how much acoustic treatment is  required to bring the RT60 reverberation time  down to a reasonable level.

RT60 is the time required for reflections of a direct sound to decay by 60 dB below the level of the direct sound.

Wikipedia.org
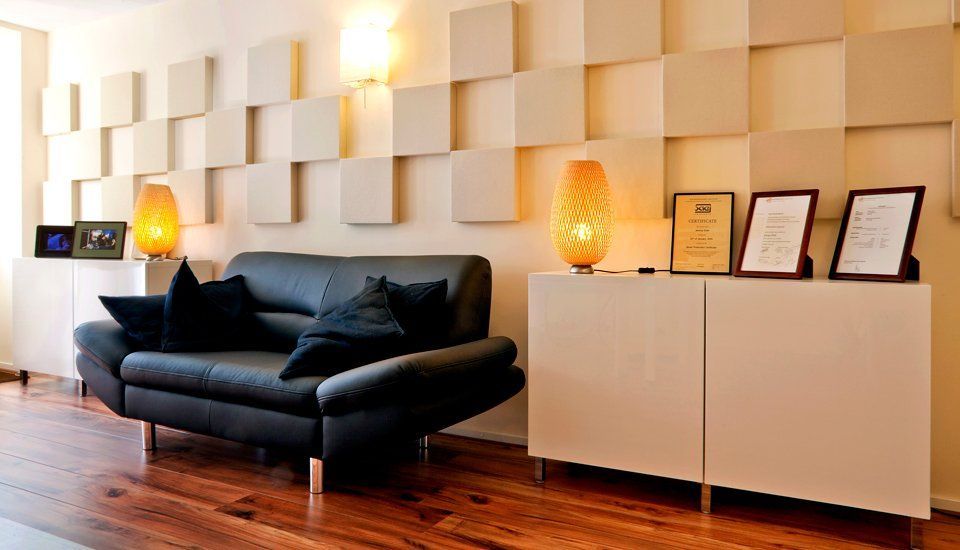
Prime Acoustic Broadway Scatter Blocks.

This is where I should make it clear that not  every classroom, theatre, church or office should  sound like a dead recording studio space. In fact, very few of them should. Like with any of  the design work we do at Horizon Solutions, we  take the time to look at and consider the  application of the space when determining the  final recommendation. The differences in  construction materials, thickness, spacing from  the hard surfaces, quantity of the treatment and  of course cost, all play into how the treatments  are selected.


Over the year we've made all kinds of recommendations for  acoustic treatment in various different spaces;  brand new church facilities , a livestock arena close to Chatham, church basements, community theatres, movie theatres, home recording spaces and many others. 


Each room is  completely different and each one has acoustic  issues, and of course each treatment has it's  differences based upon the findings and facility  use.


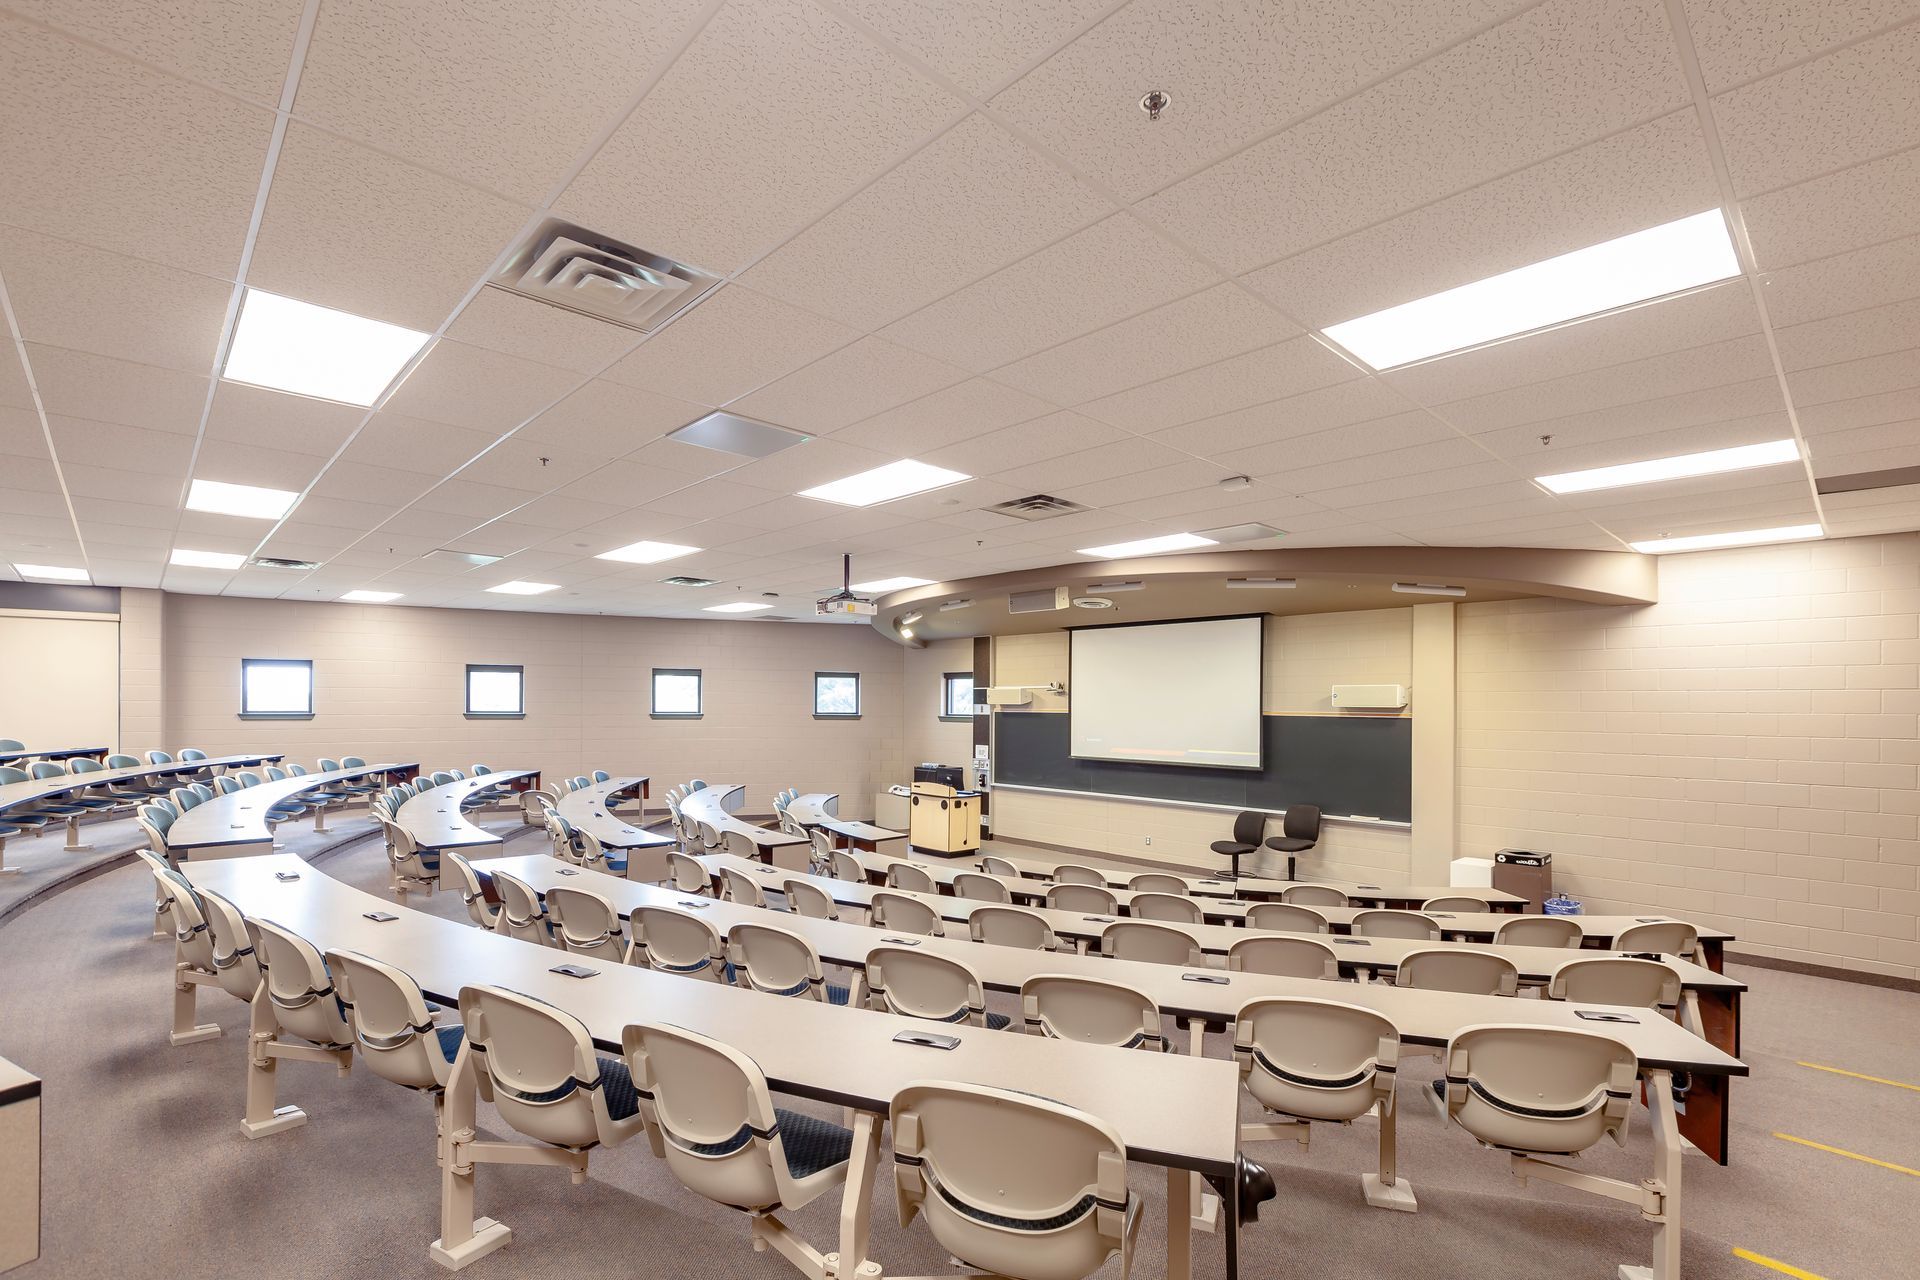
Whether you have a gymnasium, classroom,  auditorium, home studio, home theatre or church  sanctuary, we can help you determine what  acoustic treatments will best help you to "take  control of your room". 


For more information,  contact Horizon Solutions and we'd be happy to discuss your room and a solution to your acoustic issues.
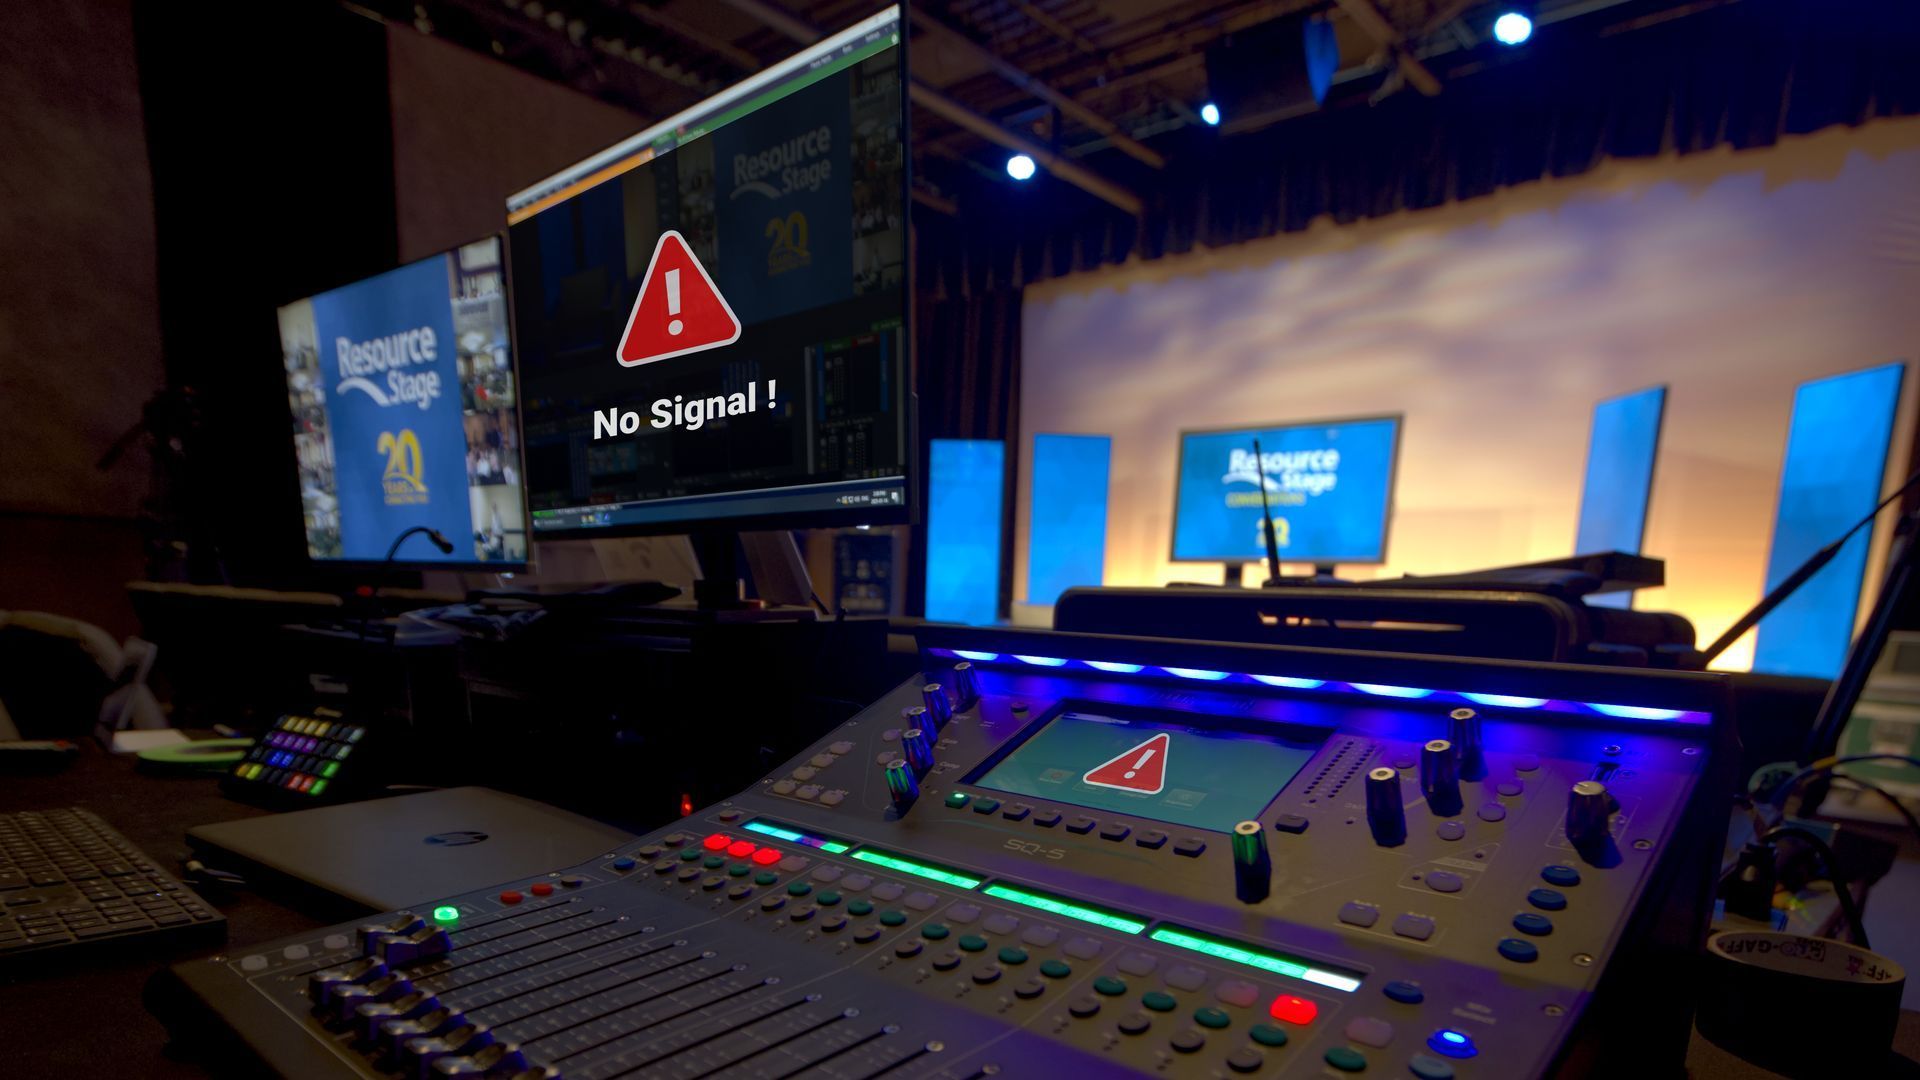
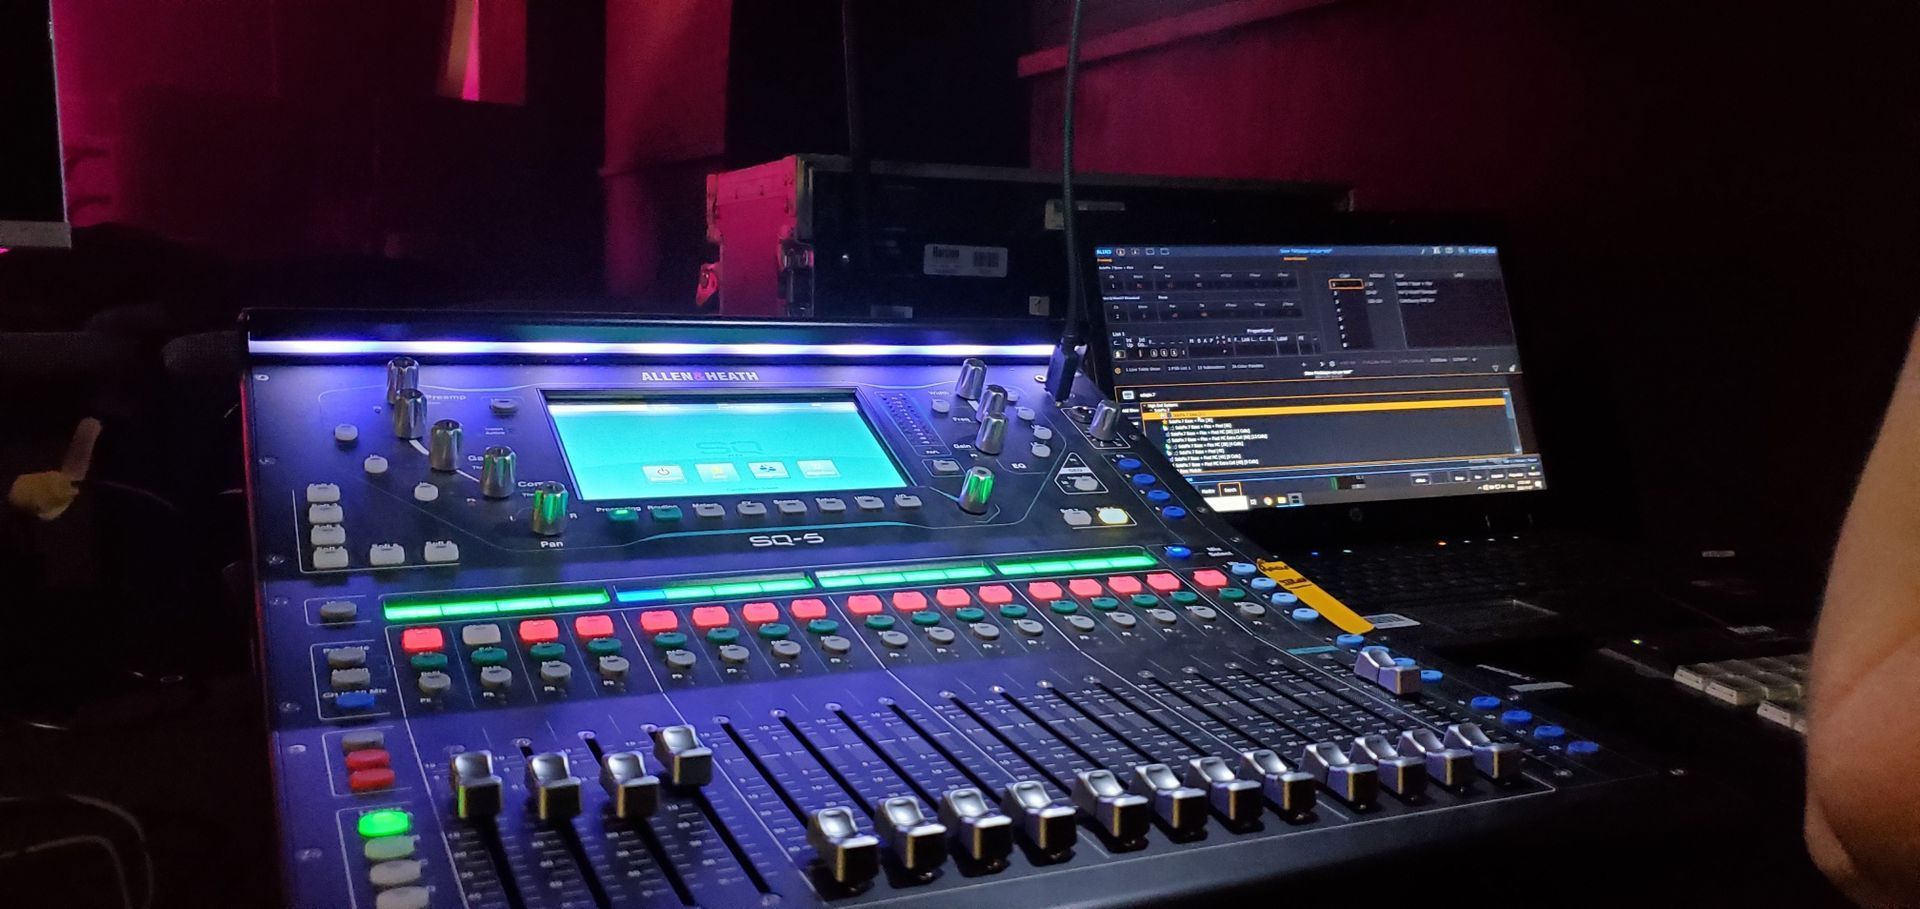
Audio mixing console in a dark studio with monitors showing a “No Signal” warning on stage
By Jordan Elgie July 22, 2026
If you’ve spent any time behind a console, in a booth, or backstage, you know this feeling well. The lights stop responding. A video signal refuses to appear where it’s supposed to. A strange hum suddenly shows up in the PA five minutes before doors. Troubleshooting is one of those universal skills in audio, lighting, and video — no matter your role, your venue, or your experience level. And while every system is different, the way you approach a problem matters just as much, or possibly even more, than tools you have in front of you. Recently, we surveyed 15 industry professionals across live sound, lighting, broadcast, and theatre. Different backgrounds, different disciplines — but their advice lined up almost unanimously: When you’re troubleshooting a problem, follow your signal path and only change one thing at a time. It sounds almost too simple. But this mindset is what separates efficient problem-solving from panic-driven cable swapping. Follow the Signal Path Every technical system — audio, lighting, or video — follows a logical signal path. And when something goes wrong, this is where disciplined troubleshooting really matters. As you move through that signal path, the rule stays the same the entire time: only change one thing at a time. Not one change per device. One change — then test. Start at the beginning of the signal chain and work forward step by step. At each point, ask yourself two very specific sets of questions: Do I have signal here? And just as important: is it the right signal? Do I have power here? And again: is it the right power? Those questions alone will eliminate a huge amount of guesswork. Once you’ve answered them, you can then ask the next burning question: Where exactly does the system stop behaving the way I expect? That’s how you narrow down the problem instead of chasing ghosts. When you make a change — swap a cable, adjust a setting, move a patch — test it. If it didn’t fix the issue, change it back before moving on. This keeps your system in a known state and prevents you from stacking changes on top of each other. Working this way might feel slower in the moment, but it’s dramatically faster in the long run. You stay oriented, you stay calm, and you always know what actually helped — and what didn’t. One Change. Then Test. Here’s the part people know… but don’t always follow under pressure. Change one thing. One cable. One fixture. One channel. One setting. Then test. If it didn’t fix the issue, change it back. Only then do you move on to the next change. Why is this so important? Because changing five things at once might feel faster — but it guarantees confusion. If the problem suddenly goes away, you won’t know which change actually solved it. And if it gets worse, you won’t know what caused that either. Systematic troubleshooting gives you clarity. It turns a stressful moment into a controlled process.
By Samadhi Perera June 9, 2026
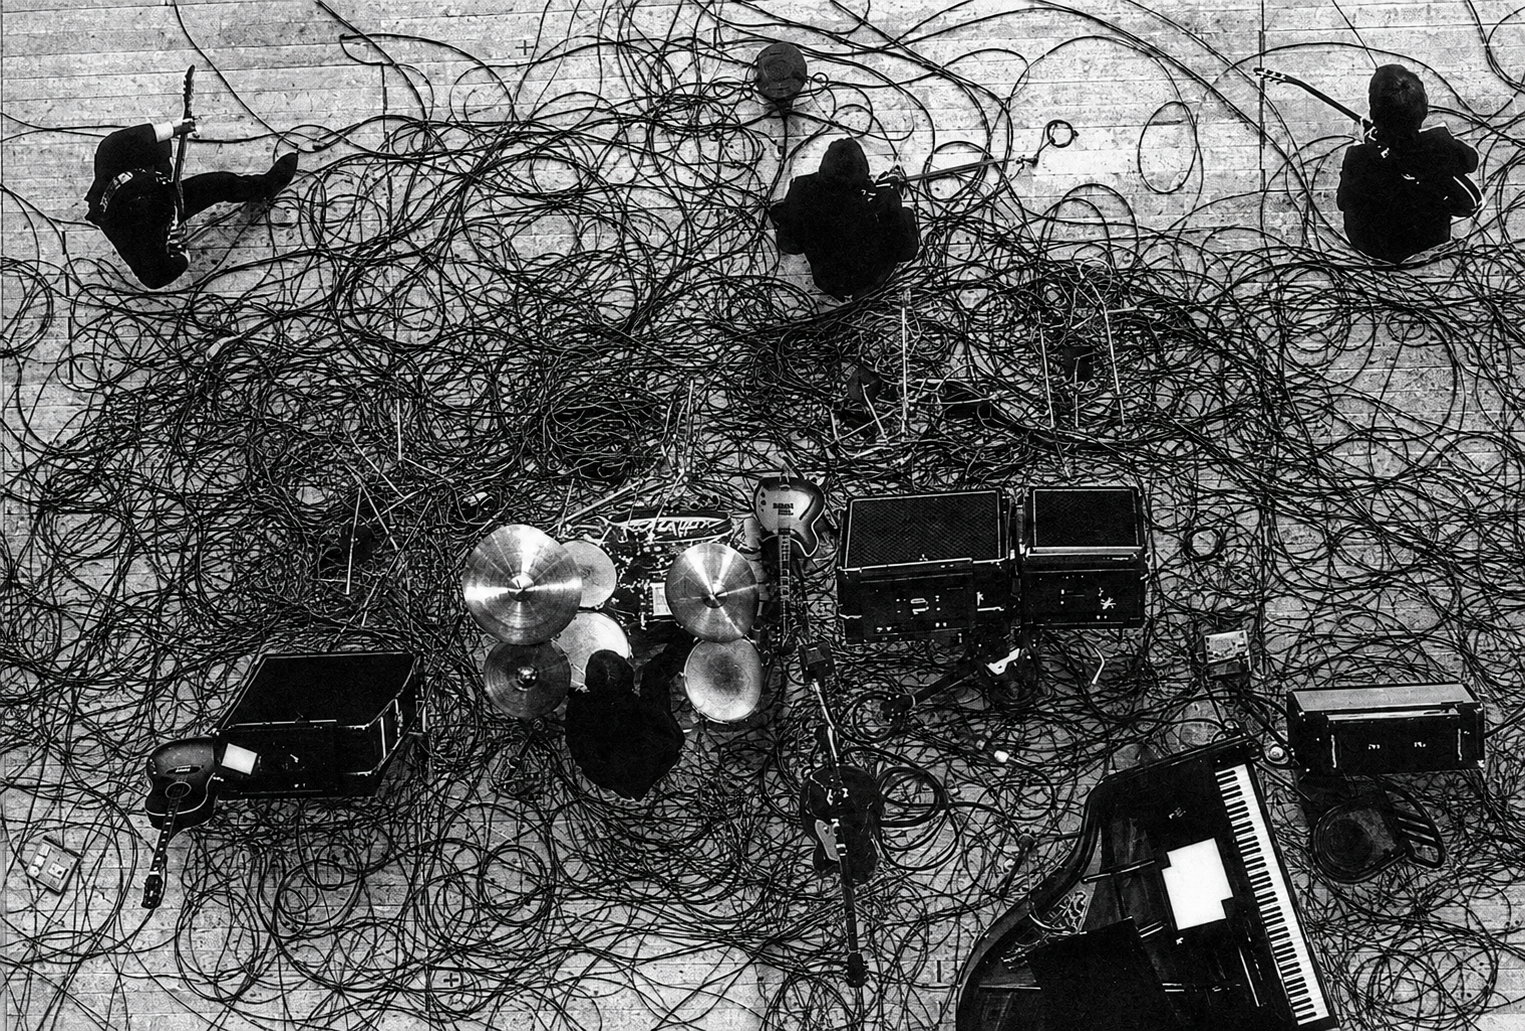
Step 1: Plan Your Cable Paths Before you start plugging things in, take a moment to plan your routes. Run cables in straight lines where possible, and try to avoid high-traffic areas. Running your cables along walls, and the backs of set pieces or risers often make for cleaner, safer paths. Even in the best setups, it’s not always possible to avoid crossing where someone might walk. That’s where gaffer’s tape earns its reputation as a tech’s best friend.
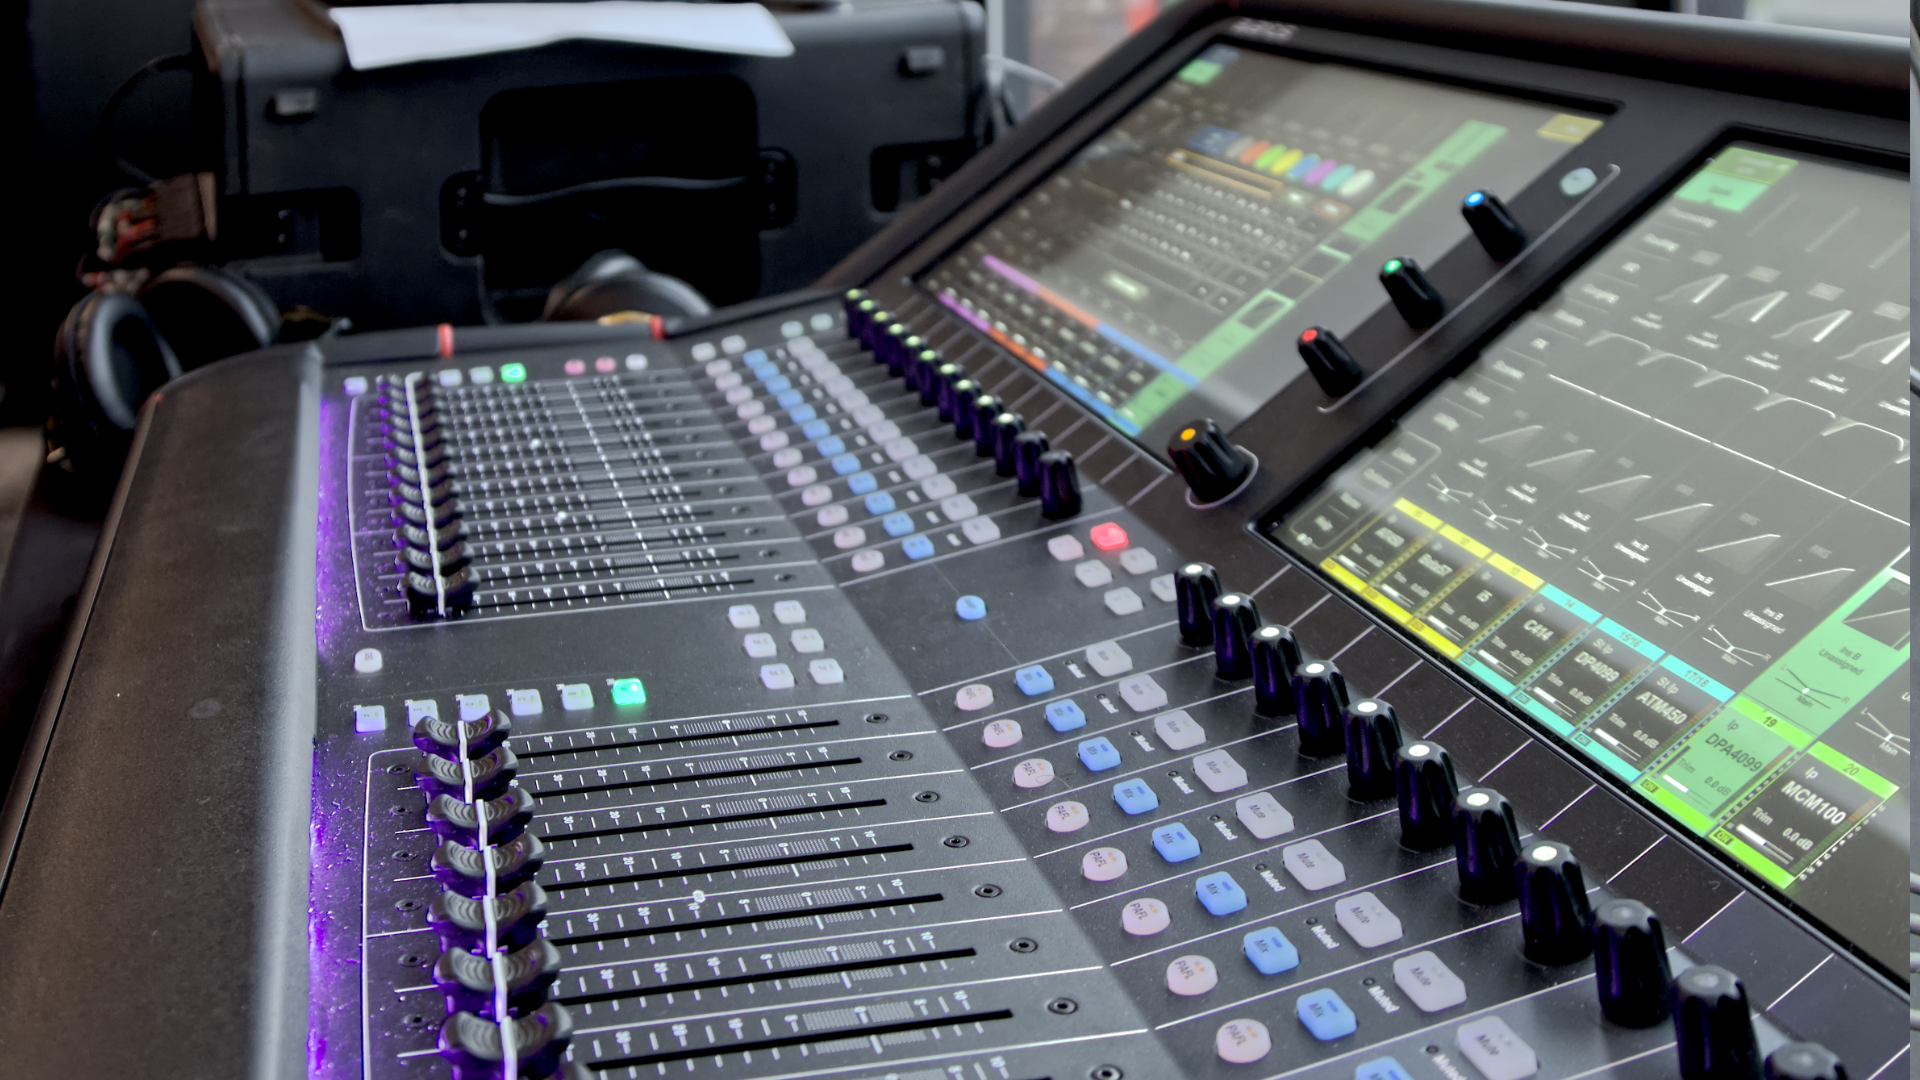
Digital audio mixing console with sliders, knobs, and illuminated touchscreen displays
By Jordan Elgie April 15, 2026
Learn how to set mic gain properly for cleaner audio, less feedback, and more consistent sound in live events, worship, and productions.
By Carl Lukings November 19, 2024
When it comes to procurement for professional audio, lighting, and video services, is it possible to balance the “best price” and “best service”? We think it is! Below are some insights that may help you navigate this challenge. The Challenge of Price-Driven Procurement Many municipalities and organizations are required to purchase from the vendor offering the lowest price. But is this approach always the best? As taxpayers, we want assurance that public money is being spent appropriately, and that there’s no room for favouritism or backdoor deals. The intent is good, but in practice, this system often results in a “bare bones” solution. The theory behind it is to guard against preferential treatment or collusion, ensuring that public funds are used responsibly. However, focusing solely on the lowest price can often result in solutions that are less than ideal.
By Jordan Elgie November 19, 2024
Essential Tips to Enhance Your Audio Experience – From Training to Equipment Upgrades
By Duane Myers October 8, 2024
Upgrade Your School's Audio and Stage Systems for a Superior Experience
By David Brown July 29, 2020
It certainly has been different times dancing on Zoom for over 2 months. Now we are coming up on a new dance season. Everybody has different levels of confidence in returning to activities and that is perfectly fine. Some kids can not wait to get back in the studio. Some want to continue but would like to do so from home. Of course, depending on class size there may be a rotation where you spend two weeks in the studio and one week at home. Maybe you will dance in the studio like normal (with new physical distancing guidelines) but want to practice at home. With these new situations Rosco has made a kit version of their popular dance floor called the Marley Mat . The floor that is used in the Rosco Marley Mat is a lighter weight version of Adagio floor that we use in our studios. That makes it perfect for dancing at home for all types of dance including ballet, jazz, acro, lyrical and even tap . It will have the same feel and “speed” of the studio floor. Being a lighter weight material allows the floor to be rolled up when not in use and unrolled and used immediately. The Marley Mat kit can be purchased for $ 149.00 (price current as of July 2020) plus shipping and tax. The package comes with a 5’ 3” by 6’ section of black or grey floor, and a roll of tape that would allow you to lay down and tape the floor 5 times. Additional tape can be purchased. You can find and purchase the kit from StageStore at the following link. StageStore is a great supplier in Ontario of theatrical type products. https://www.stagestore.ca/product/rosco-marley-mat-kit/
By Carl Lukings July 27, 2020
Redefining the microphone for the meeting space
More Posts >